
Dahlia Propagation: Part One - Waking Up Tubers and Taking Cuttings
At Green Willow Gardens, we’re always refining our processes to make the most of our growing season. When it comes to propagating dahlias, taking cuttings from sprouted tubers is an excellent way to multiply our stock. Over the years, we’ve experimented with different techniques for waking up tubers, and this season, I tried a new method that I absolutely love.
Step 1: Waking Up the Tubers
In the past, I placed one tuber per pot, which took up a lot of space and required more frequent watering. This year, I opted for a more compact and efficient approach. Instead of potting each tuber individually, I kept them in clumps and placed them at the bottom of large ziplock bags. Then, I added pre-moistened soil mixed with some vermiculite to extend its volume and improve aeration.
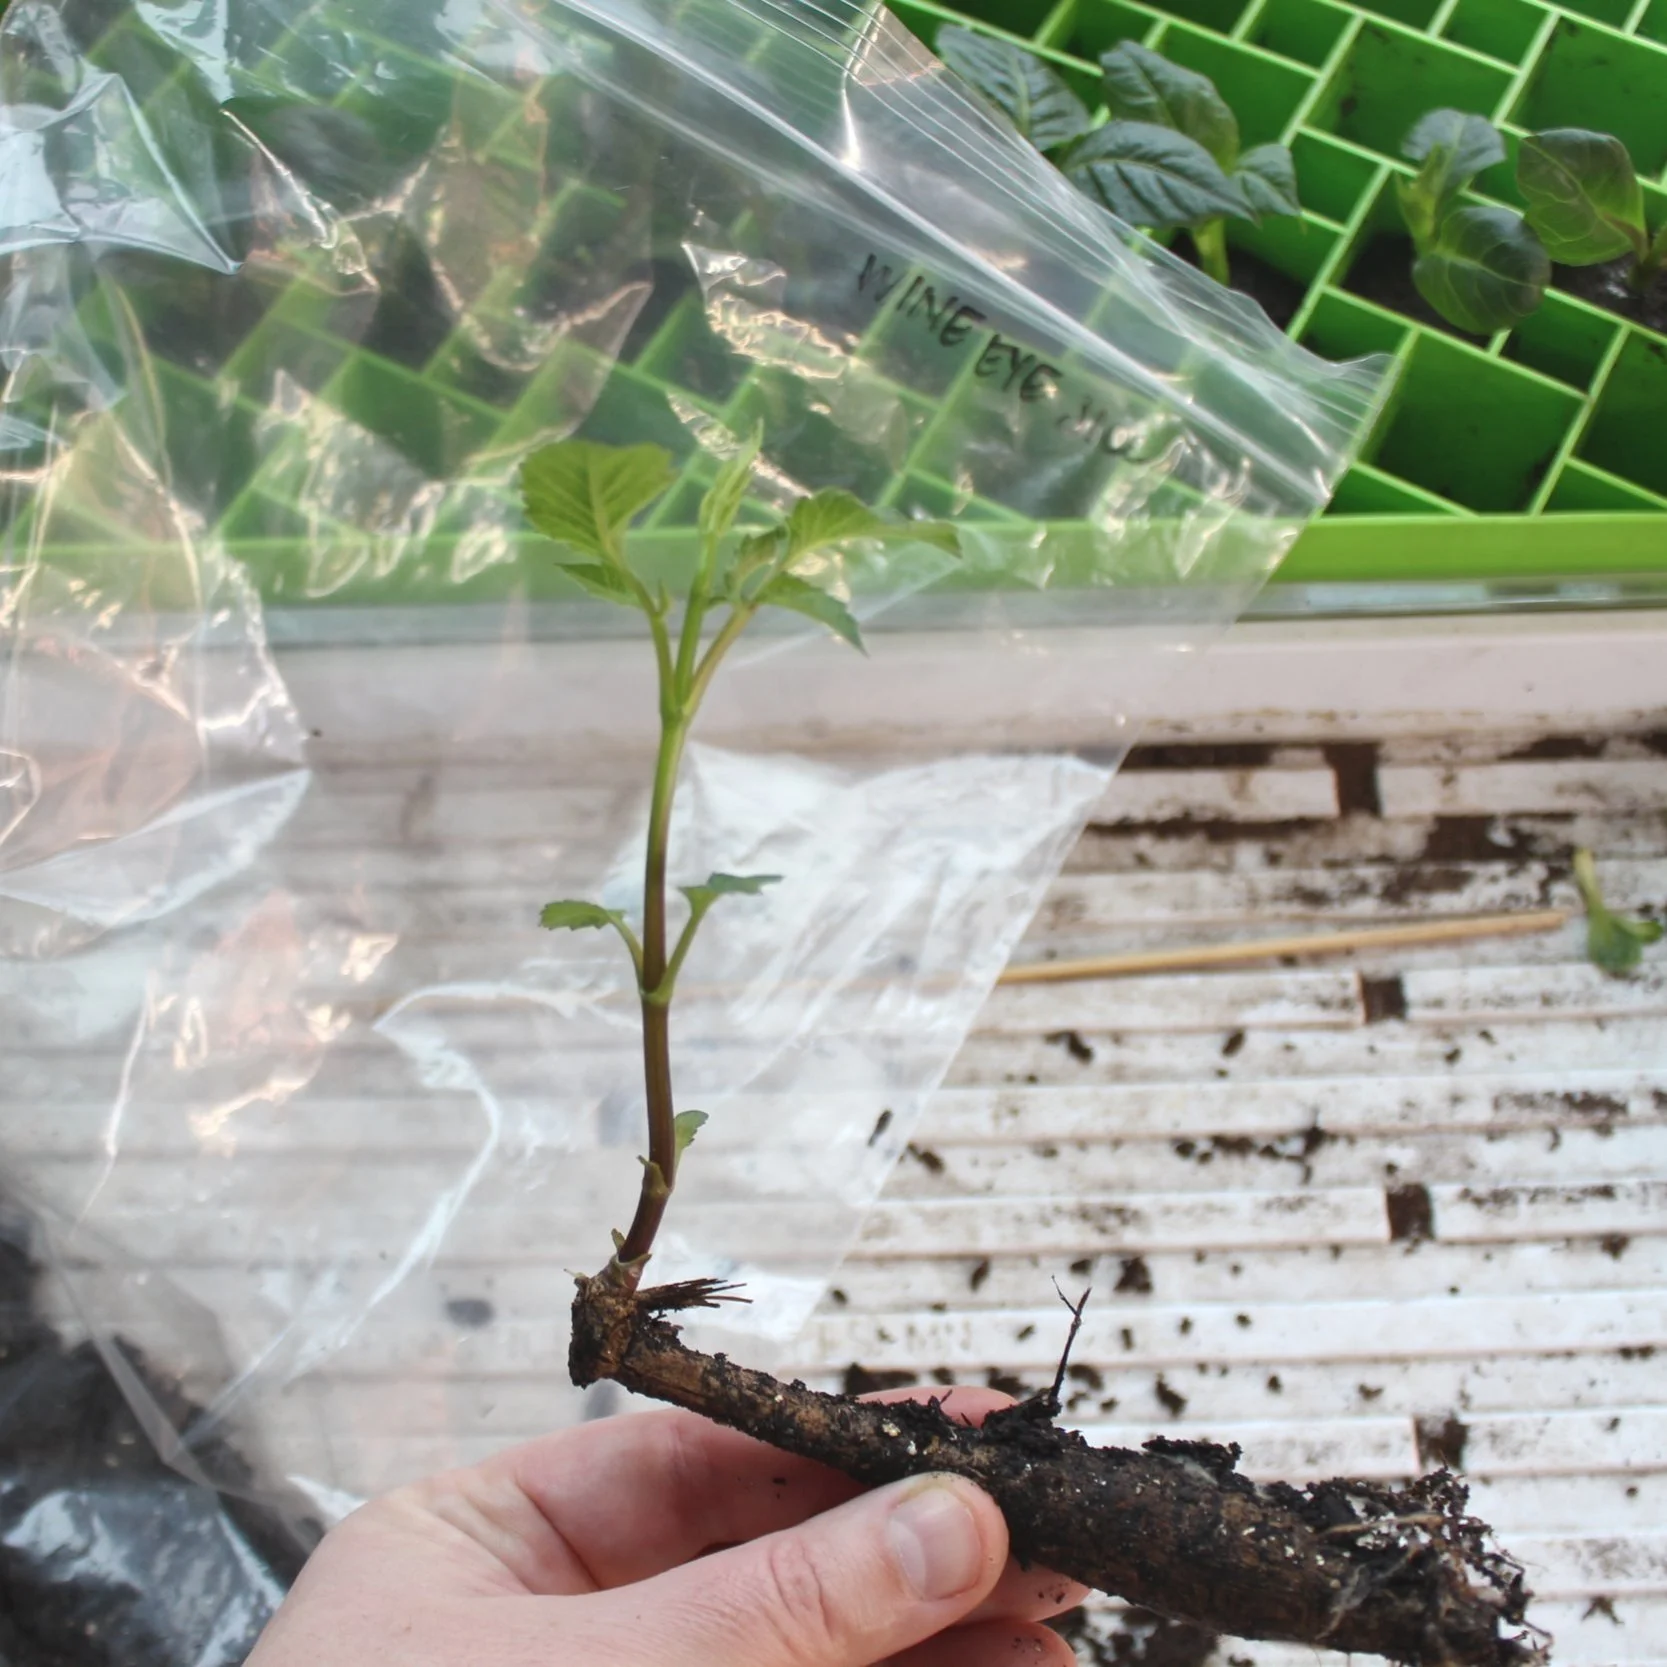
The key is to cover the tubers up to their necks, leaving an inch or two exposed so the eyes and sprouts are visible when it’s time to take cuttings. One crucial step is labeling your bags—without the blooms, dahlia tubers all look the same!
(Disclaimer: I know plastic bags aren't the most sustainable choice, but we already had them on hand, and I plan to reuse them for future seasons.)
Hanging for Space Efficiency
To maximize shelf space, I used pant hangers to hang the bags along the outer edges of our grow shelves. This location receives enough ambient heat and light from our grow lights. Initially, I sealed the bags to retain moisture, effectively creating mini greenhouses. Once I saw sprouts emerging, I slightly opened the tops to allow airflow.
With this method, I noticed that most tubers began sprouting within a few weeks. Some varieties, like Silver Years, took longer, but eventually, they all woke up and produced stems. A fun perk of this approach is that you can actually see the roots developing in the soil, which isn’t something we usually get to witness!

Step 2: Taking Cuttings
Once the sprouts reached 2"-3" in height, it was time to take cuttings. Using sharp snips, I clipped each sprout just above where the stem meets the tuber. To stay organized, I prefer to cut all of one variety at a time to avoid any mix-ups with labeling.


Step 3: Rooting the Cuttings
For rooting, I use Root Riot Cubes because they are the easiest option for my workflow. They allow me to take out only the number I need at a time, without having to mix up soil for just a few cells. There’s some debate on whether these cubes inhibit tuber formation, but I haven’t experienced any issues.
The cubes fit perfectly into my Bootstrap Farmer 72-cell trays, which are my preferred trays for cuttings. These sit in a 1020 tray with a small amount of water to keep the cubes moist. Within a few weeks, baby roots start poking out from the bottom, signaling that it's time to either pot them up or transplant them.


What’s Next?
As our cuttings continue to develop, I’ll be sharing more details on the next steps—potting up, transplanting, and ensuring strong dahlia plants for the season ahead. Stay tuned for updates as we move through the process!
Have you tried taking dahlia cuttings? I’d love to hear about your experiences!